Selections
Marquee, lasso and magic wand selections in Photovibe, and what you can do with them.
A selection limits where the next edit lands. While one is active, painting, erasing and gradients only affect pixels inside it, and the boundary animates as marching ants.
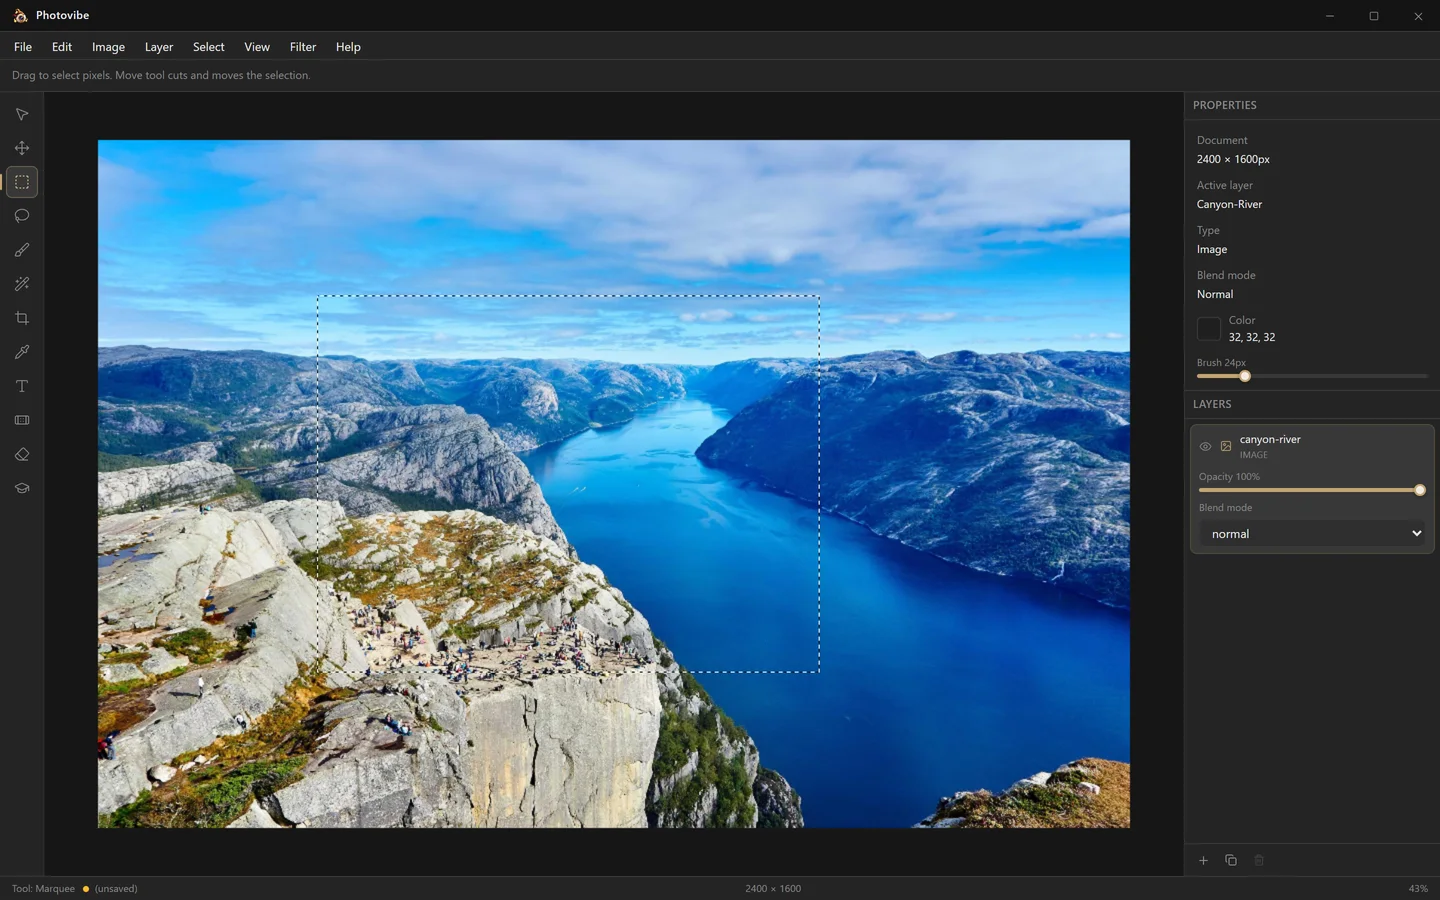
Making a selection
Marquee — M
Drag from one corner to the other. The simplest and most predictable of the three.
Lasso — L
Draw a freehand outline by dragging. The shape closes automatically when you release the button, joining your last point back to the first.
Magic wand — W
Click a pixel and Photovibe selects the connected region of similar colour around it, flooding outwards until the colour differs by more than the tolerance. Good for skies, flat backgrounds and other broad areas of even colour.
Using a selection
- Paint inside it — brush, eraser and gradient strokes are clipped to the selection.
- Move the pixels — switch to the Move tool (V) and Alt-drag. The selected pixels lift off the layer and follow the cursor, leaving transparency behind.
- Move the selection itself — drag inside it with the Move tool without holding Alt.
Select menu
| Action | Shortcut | Status |
|---|---|---|
| All | Ctrl+A | Selects the whole canvas |
| Deselect | Esc | Clears the selection |
| Inverse | Ctrl+Shift+I | Not implemented yet |
| Refine Edge | — | Not implemented yet |
Inverse and Refine Edge appear in the menu but are greyed out; both are on the roadmap.
Tips
- Deselect before painting broadly. A forgotten selection silently confining your brush is the most common source of “why is nothing happening?”.
- Selections survive switching layers, so you can select once and then edit several layers through the same shape.
- Everything here is undoable — Ctrl+Z steps back through selection changes along with every other edit.